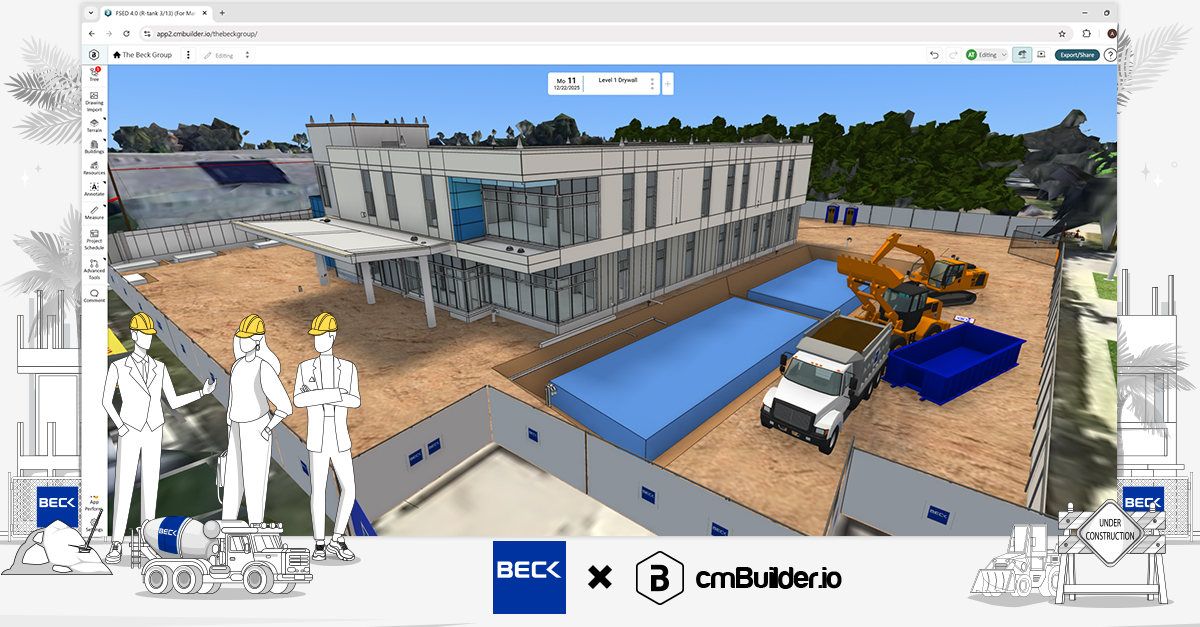
Delivering a well thought out, detailed construction plan is crucial to a successful pursuit phase. cmBuilder enables you to deliver this plan in a highly differentiated and easy to understand 4D simulation format. This detailed plan includes a flipbook presentation made up of milestones and markups that capture every stage of the pre-construction plan. The presentation feature allows users and stakeholders to play, pause and make changes to the site plan. In this post we’ve compiled a list of tips and tricks that can help increase how efficiently you can create your site simulations and increase their impact.
These guidelines have been mapped out through speaking to cmBuilder users and asking general contractors how they successfully navigate through the pursuit phase and how they have utilized cmBuilder to increase their chances of securing contracts.
Here’s a list of best practices our customer success managers suggest:
1. Plan resources appropriately based on your site plan
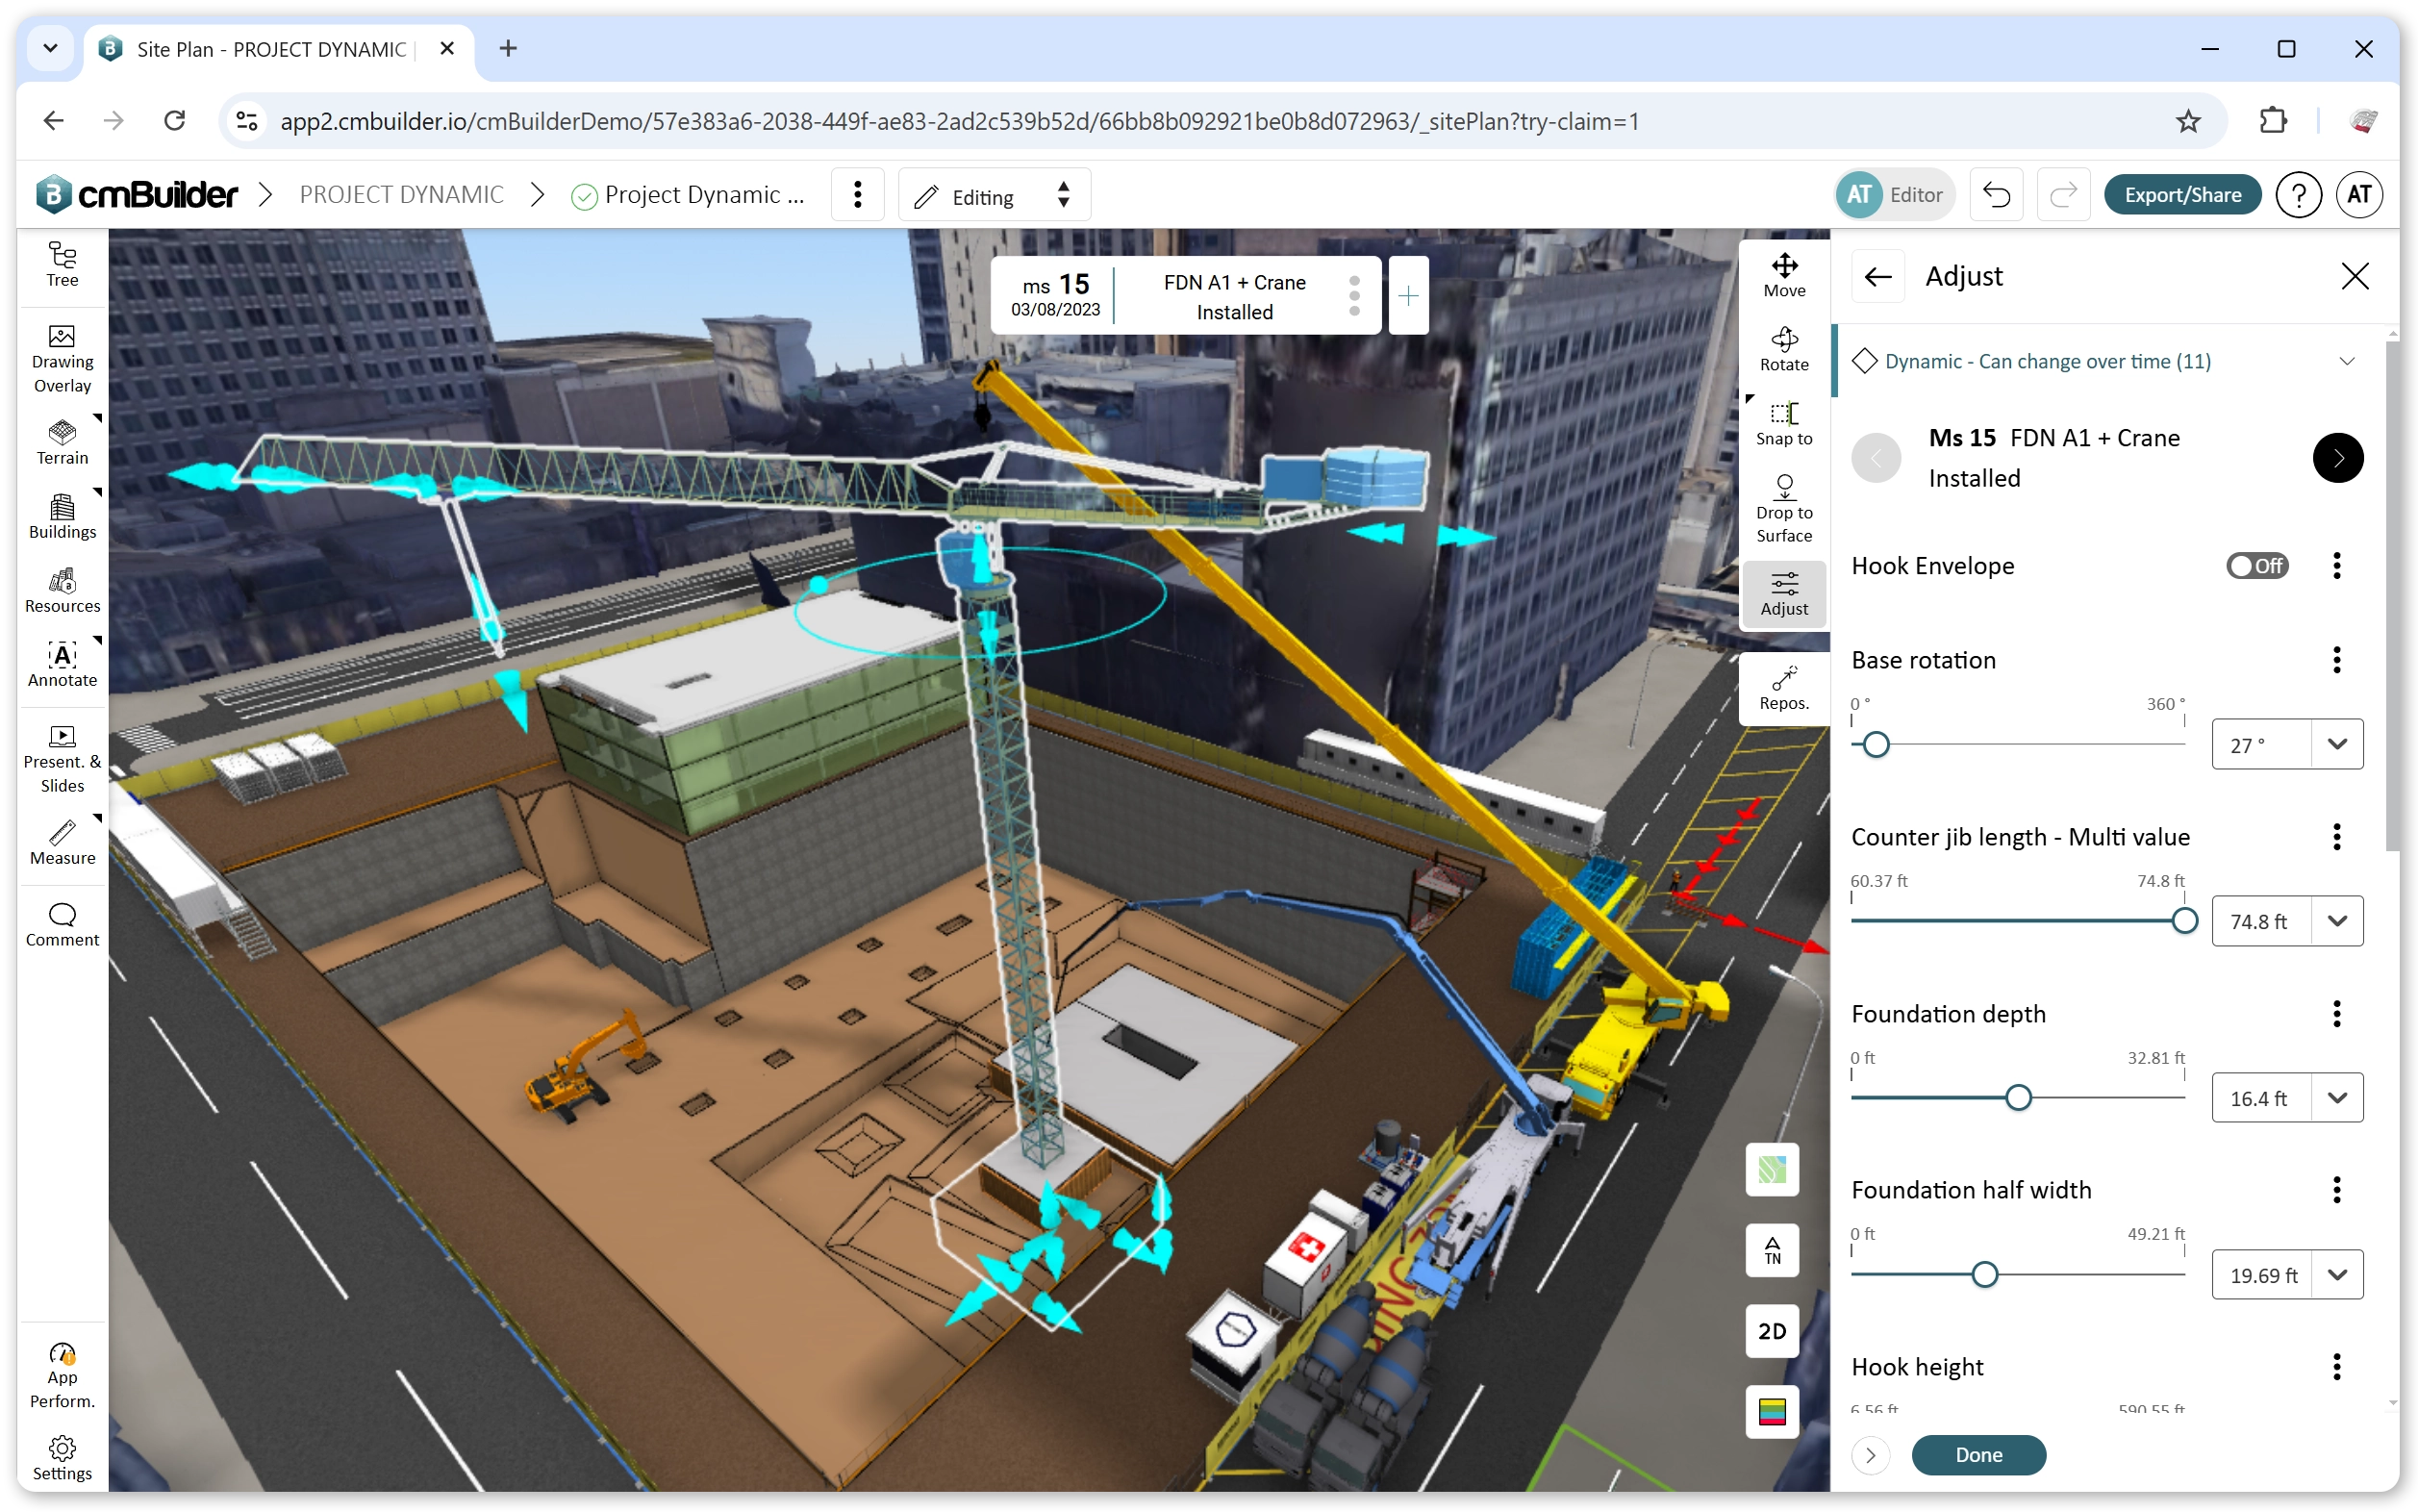
From the initial project setup to practical completion, resources whether existing conditions or temporary site works must be placed correctly in space and time to reflect the requirements of the job at each stage. The extensive cmBuilder resource library enables users to create simulations that match real-life scenarios. The team also works directly with users to fulfill resource requests and continuously add to and improve our resource library. The 3D axis (origin axis) allows users to set a local origin reference where all of the resources on the map can be placed in relation to.
Our data tells us that successful presentations are practically impossible without the appropriate placement of resources.
2. Create detailed milestones to show different stages of the site simulation
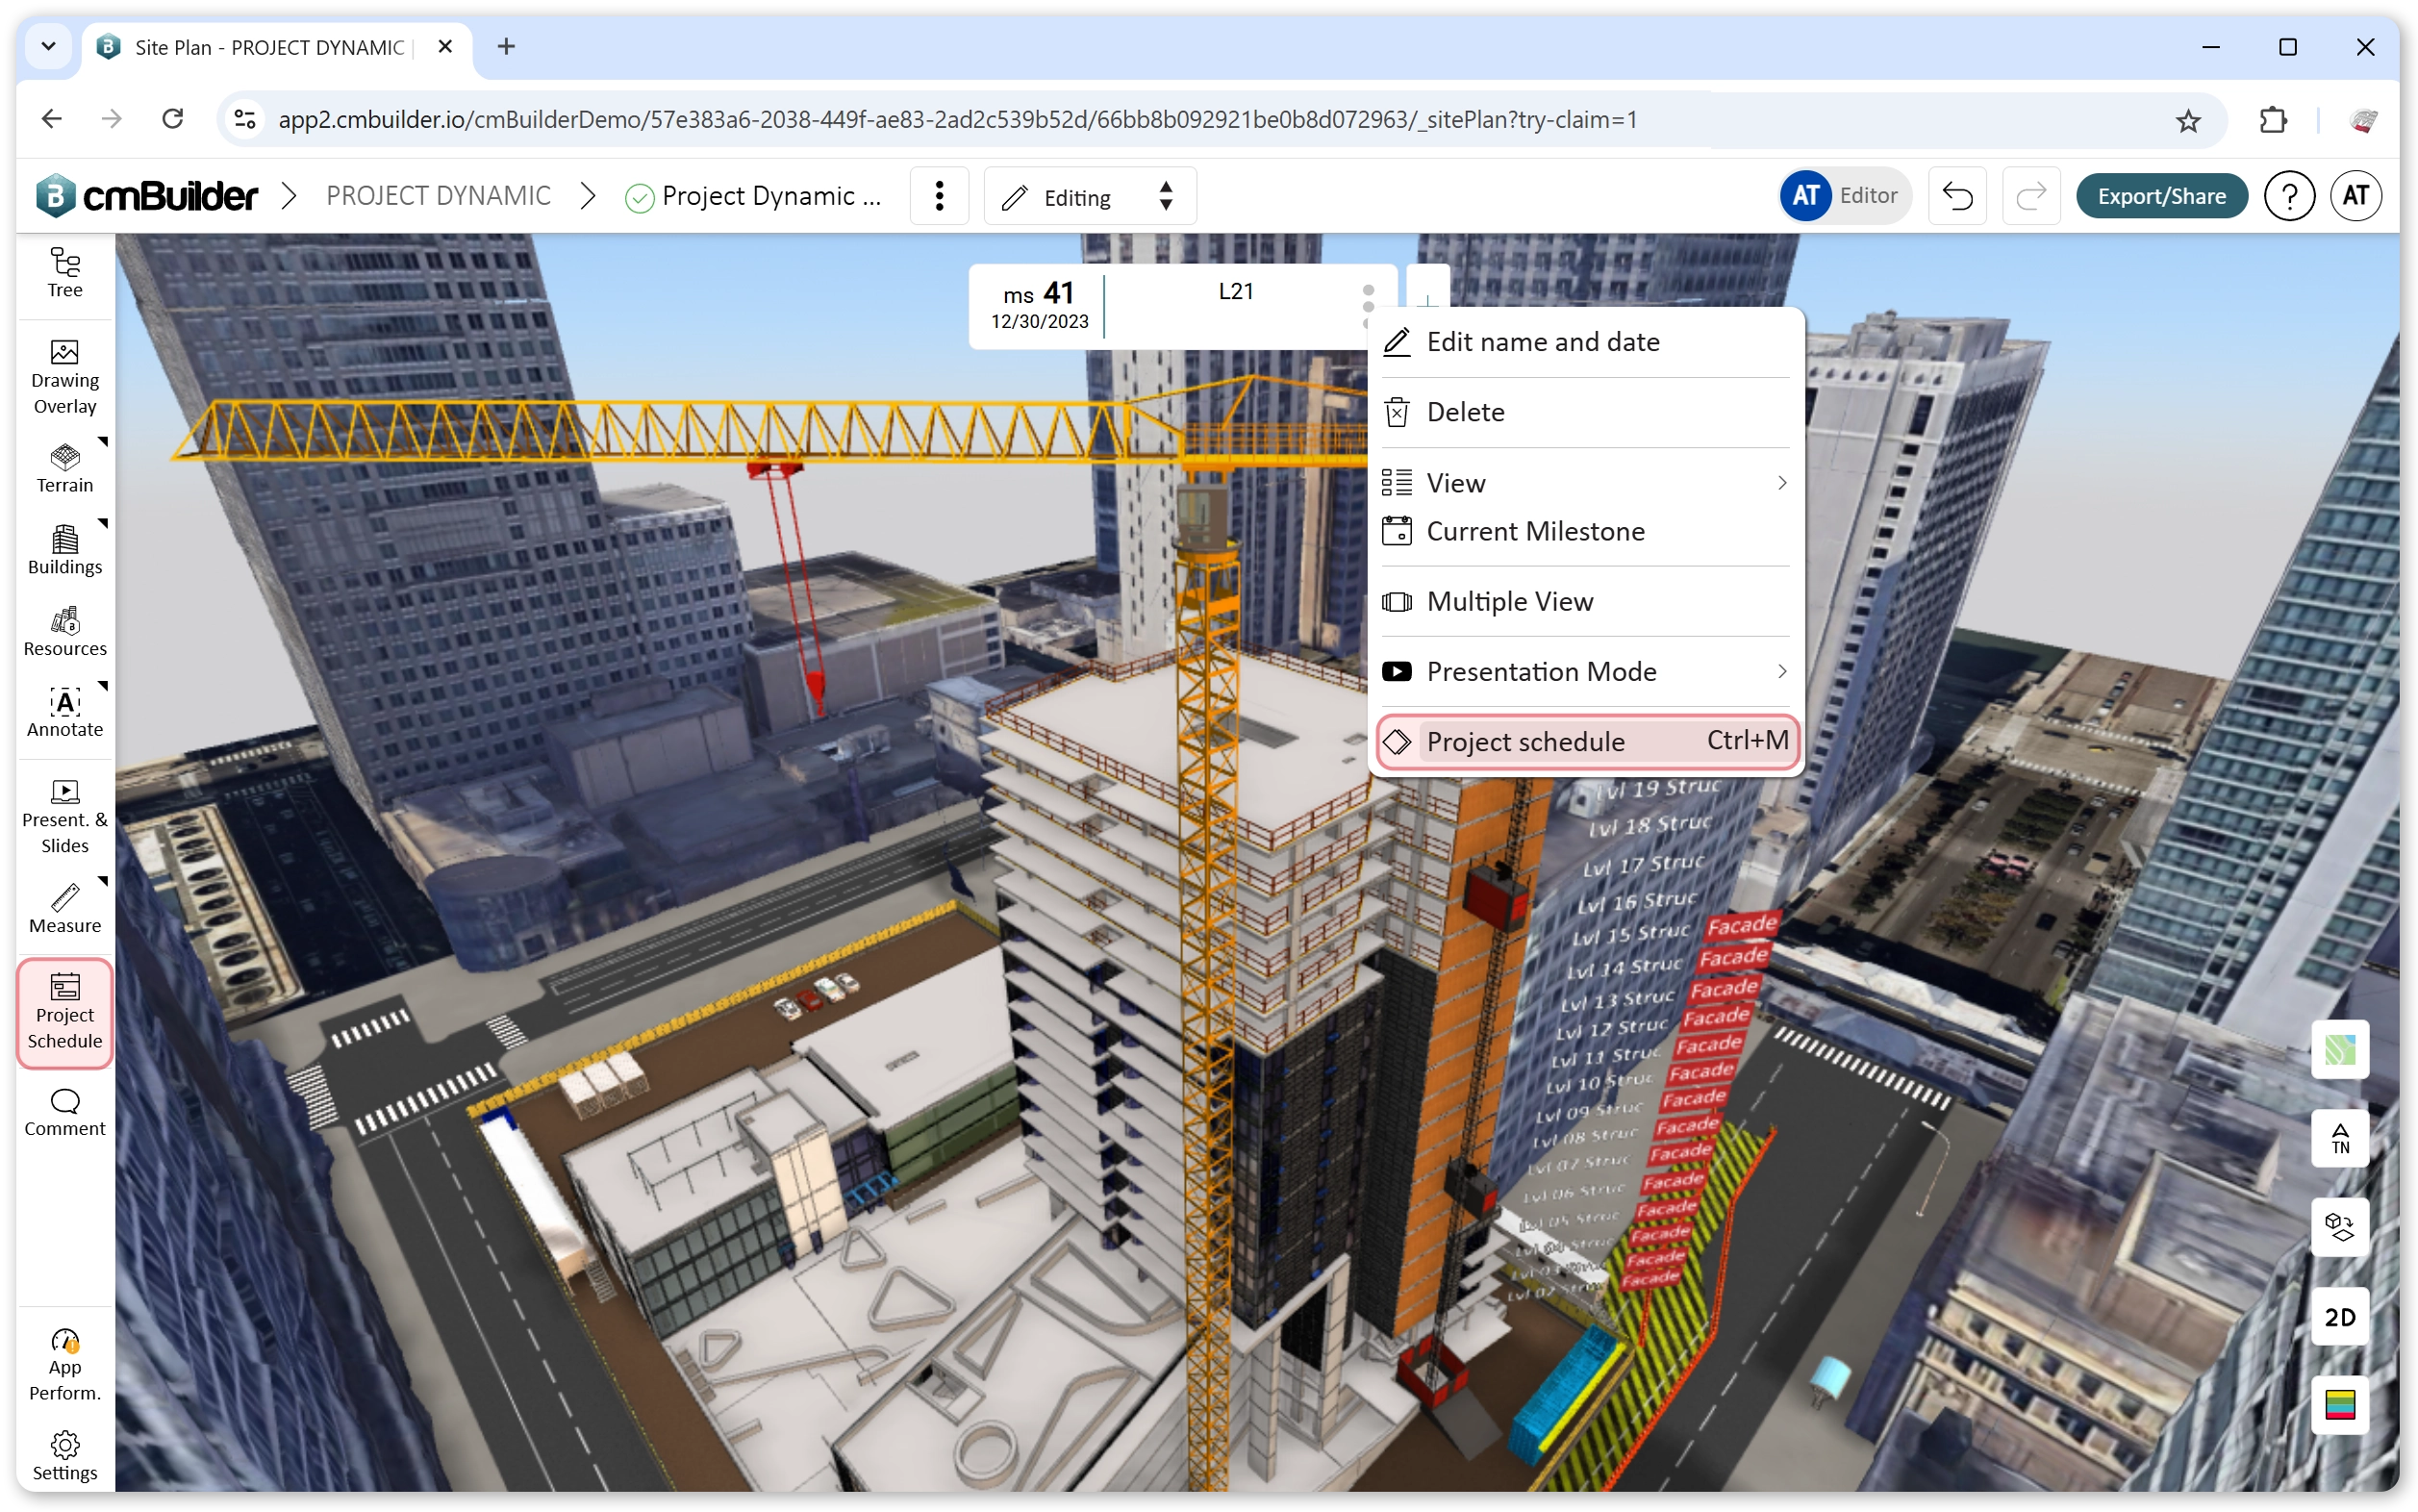
The milestone manager is used to navigate through different stages of construction or to show pre-saved views and filters of the 3D model. Within this manager is a calendar where the milestone start and end date are set. We suggest using a milestone name that replicates the exact stage in the site plan and shows the level of progress made. Different users and companies have unique verbiage, all we suggest is that this verbiage is kept consistent to allow stakeholders follow the entire site simulation during the presentation.
For stylistic purposes and accessibility, our team suggests using consistent milestone names and levels.
3. Use Markups, Callouts and Stored Camera Views to highlight crucial building and resource details, bringing your construction plan to life with enhanced visualization
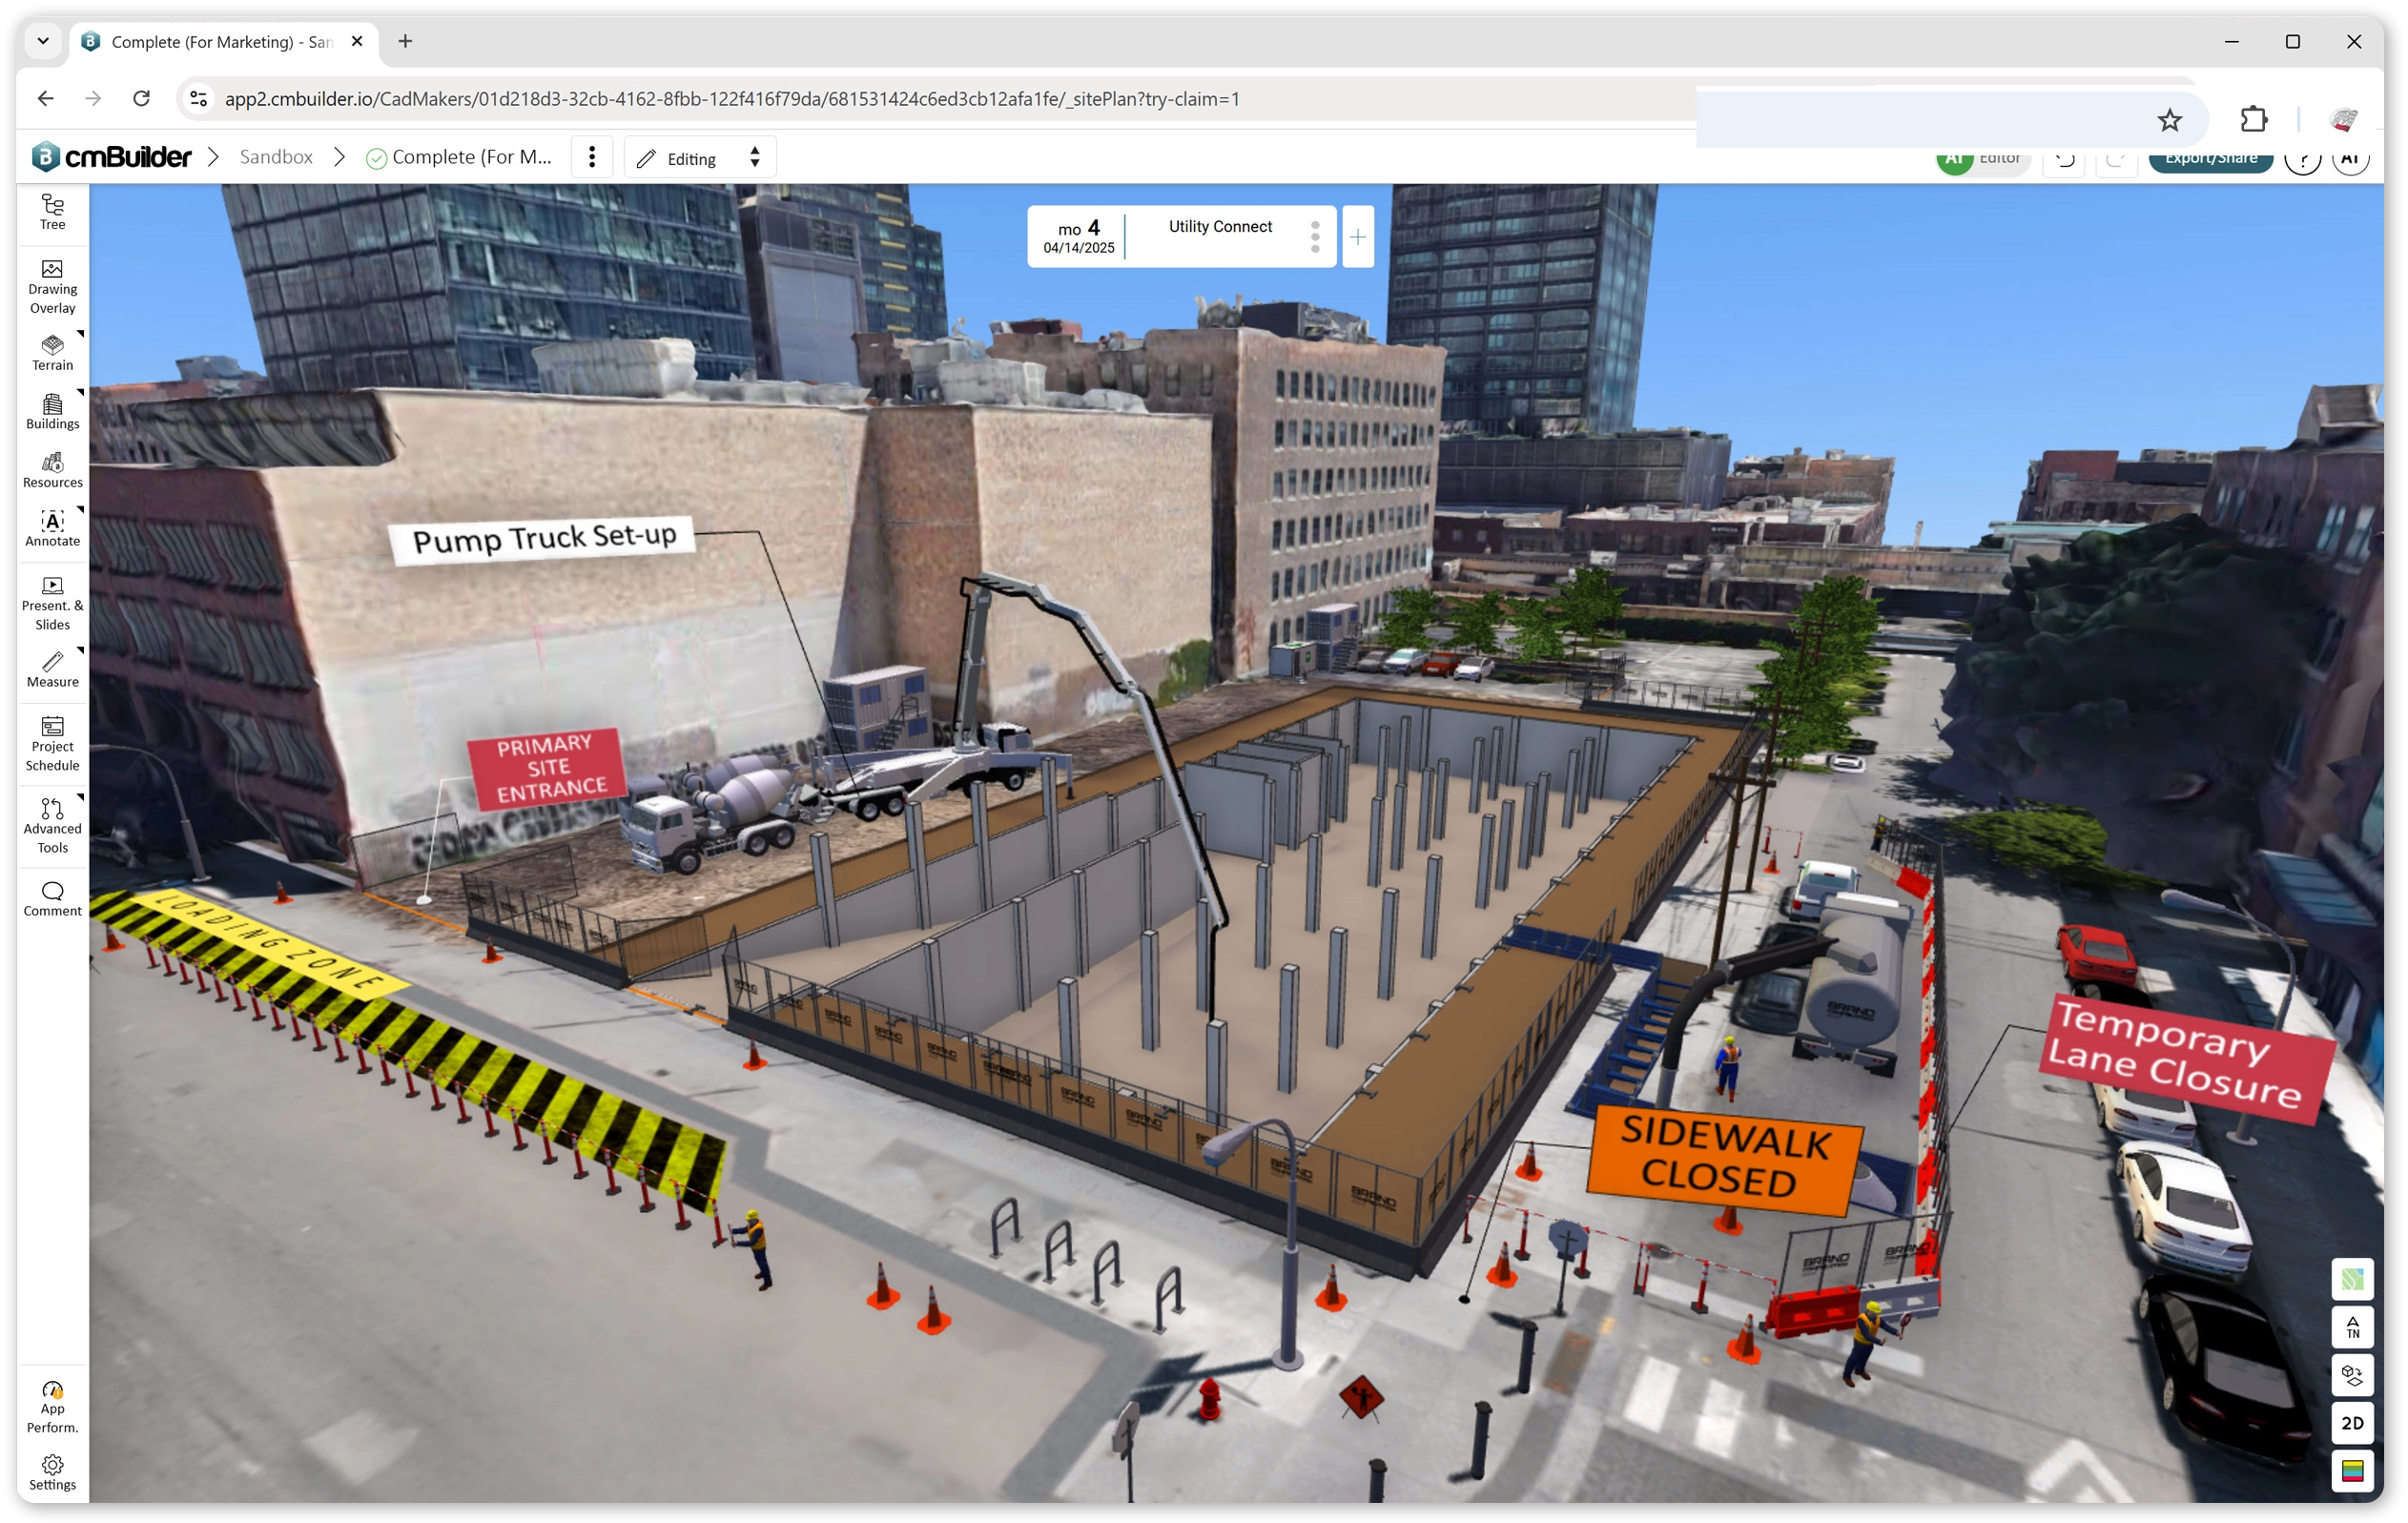
To ensure that crucial construction details are not missed or lost during the presentation, we suggest the use of markups to capture the most appropriate angles and show drawings that will
be visible during the presentation. Callouts on resources and buildings provide extra detailing for the different presentation slides and markups. Markups and Callouts help visualize and identify the elements of the site simulation that may be missed by stakeholders and other users.
Our data shows that this is a make or break for most pursuit phases. The intricate details during the presentation lead to better overall outcomes for general contractors and clients.
4. Toggle Viewer Settings to visually improve the layout of the site plan
The viewer settings are used to control the display and appearance of the site simulation. These settings control the shadows, environmental lights and background colors. The display option allows users to show or hide key simulation elements such as the origin axis, terrain, measurements and buildings. The site plan map and view type can also be changed under these display settings. The appearance settings give users the option of toggling on or off ground shadows, environmental lighting and background colors which can drastically change the visual appeal of any site simulation.
Our team suggests playing around with the different options to find the settings that are better suited to the demands of your individual scenarios and projects.

5. Use the Share Button to make the site simulation available to stakeholders
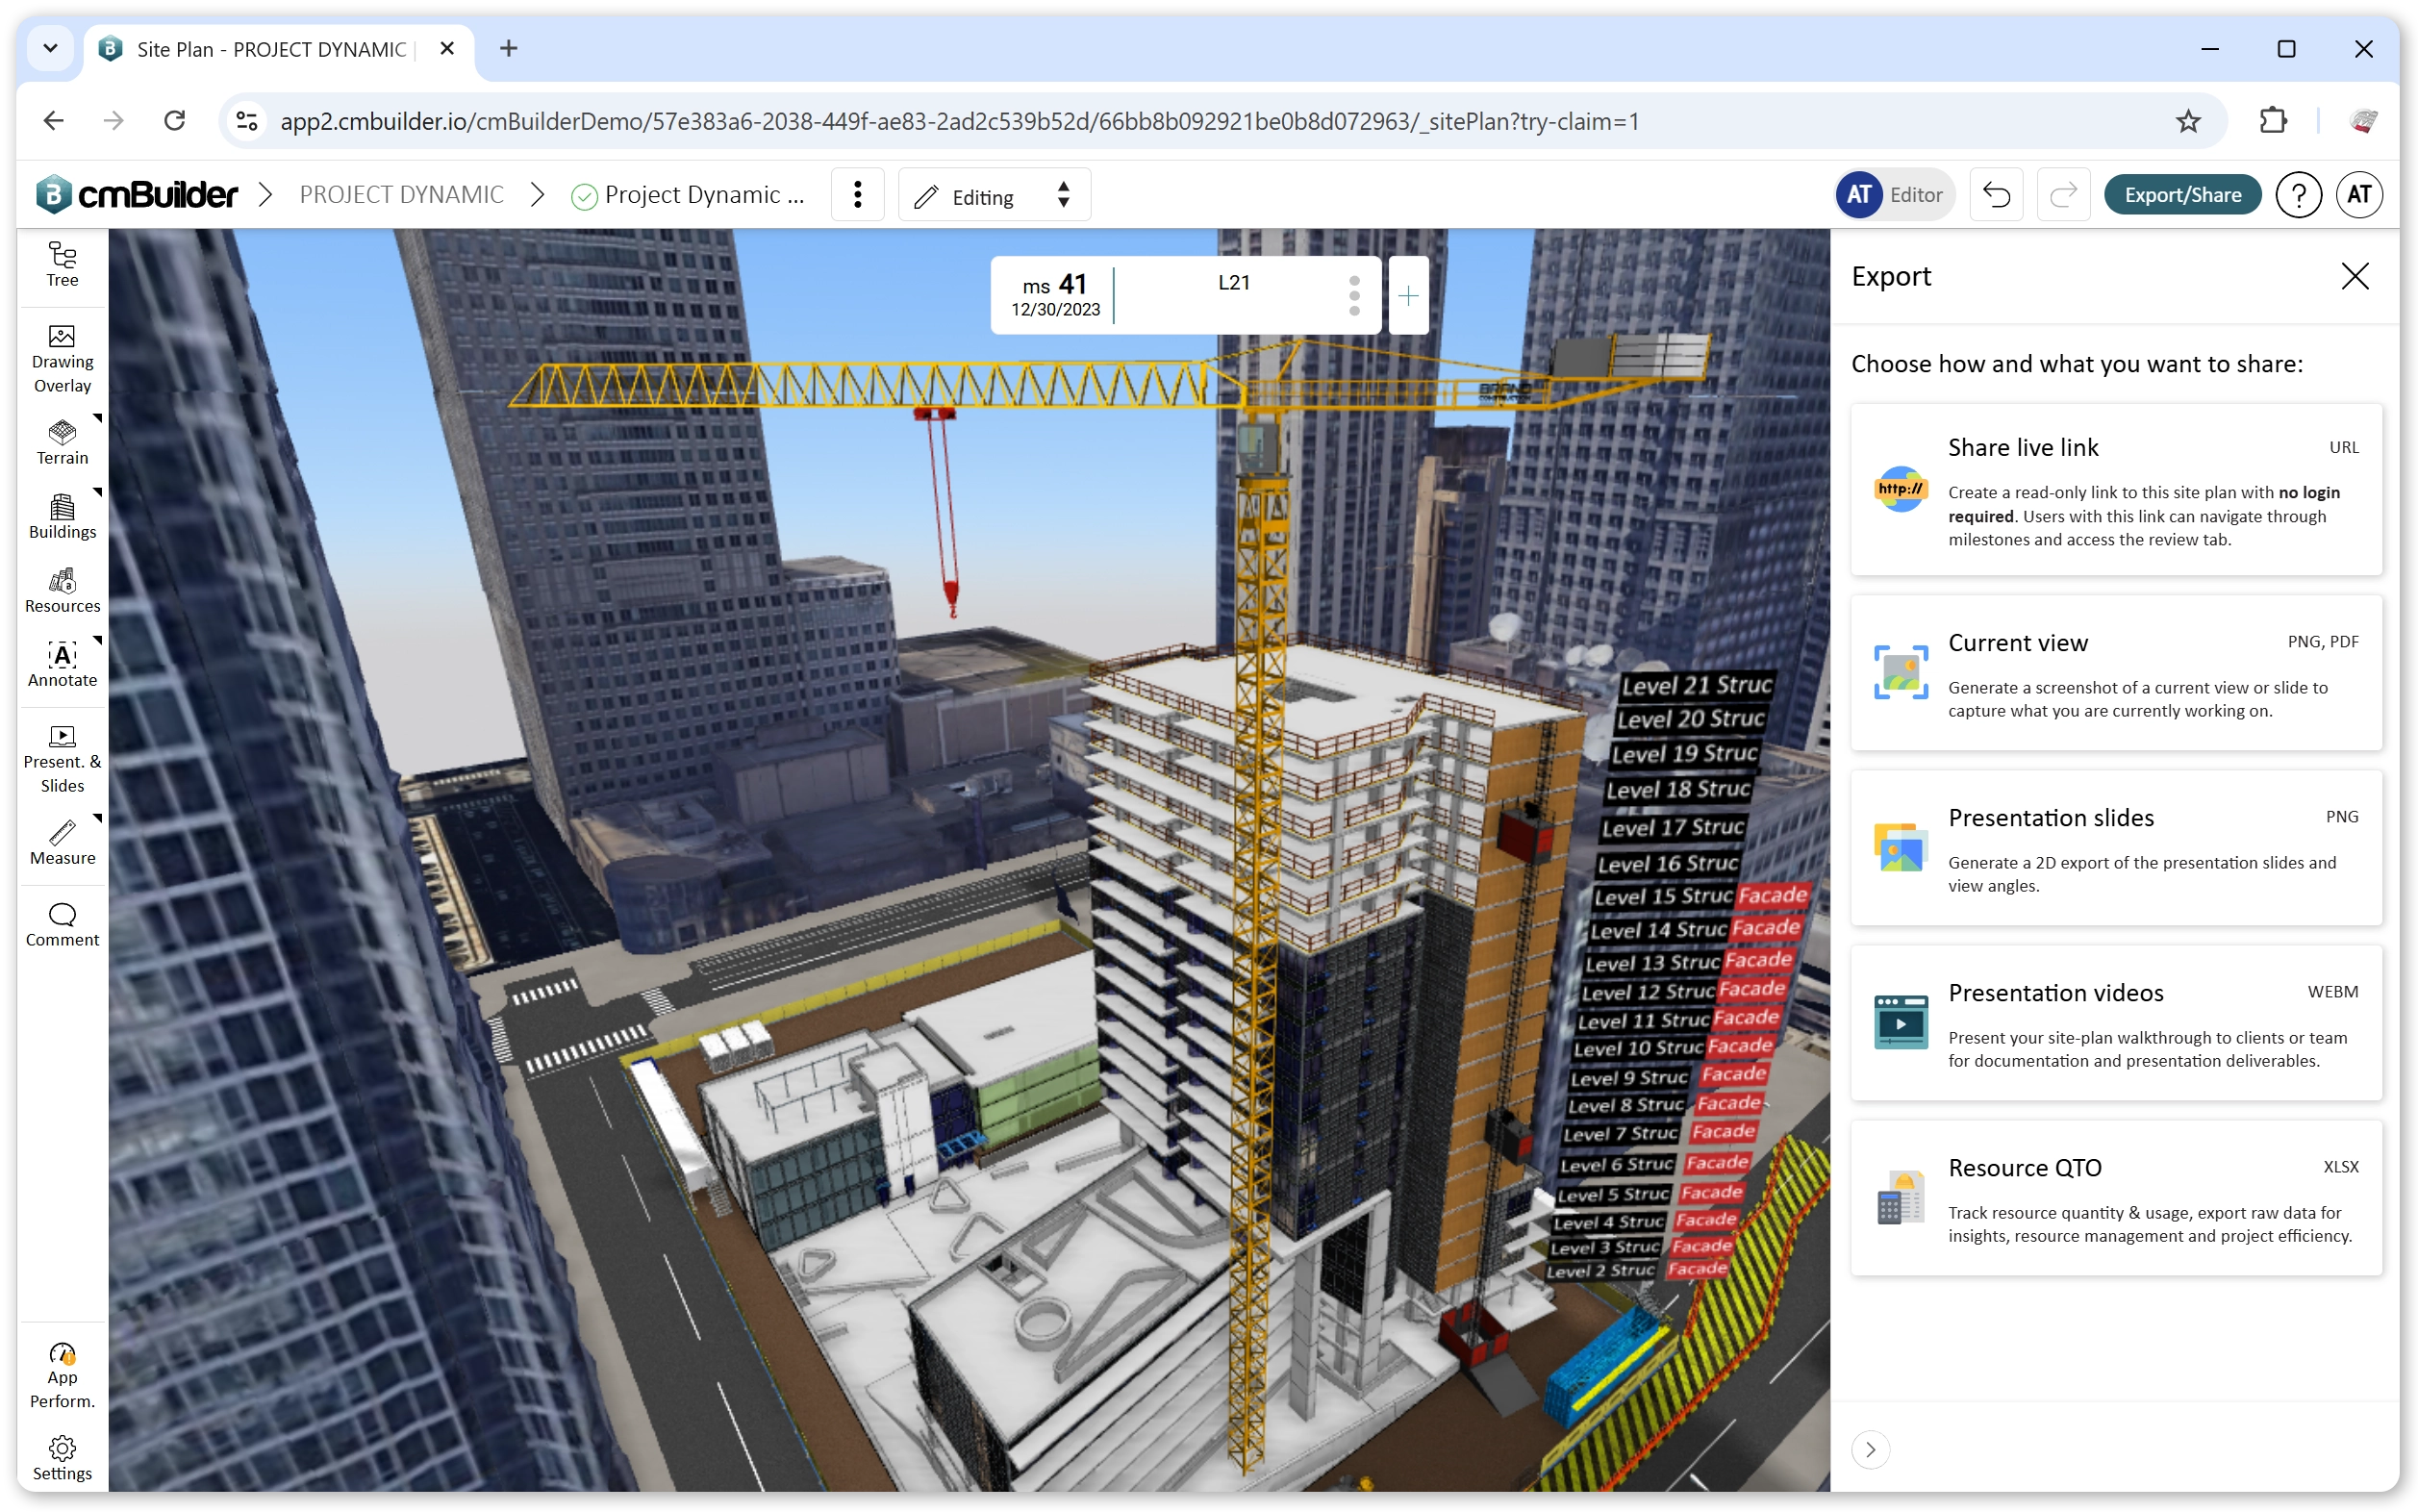
The share button on cmBuilder gives external users and stakeholders real-time access to changes made on the site plan. The shared public link is a link to a scenario in cmBuilder that can be accessed by anyone without credentials. This shared site simulations brings all earlier mentioned steps together making it crucial for a successful pursuit phase. The site simulation can be shared by either generating a link or exporting the file. We suggest using the public link as the primary share option and the file export option as a backup to give stakeholders still images of the project for referencing.
This live link also allows stakeholders and clients to perform a limited number of actions on the scenario such as temporary display changes, appearance changes, markups and measurements.
These guidelines outlined by the team consider the complexity of different projects and accessibility provided by cmBuilder to external users and clients. The flipbook presentation of milestones and markups captures cmBuilder’s ease-of-use on all projects creating a dynamic, real-time 3D site logistics presentation. An added benefit that cmBuilder users have utilized to increase their chances of securing new projects in pursuit, planning projects with higher efficiency and reducing overall project risks.
Want to try cmBuilder out for yourself? You can start a free trial on cmBuilder.io today! Alternatively, you can also book a customized demo with a product expert by clicking the below button.


